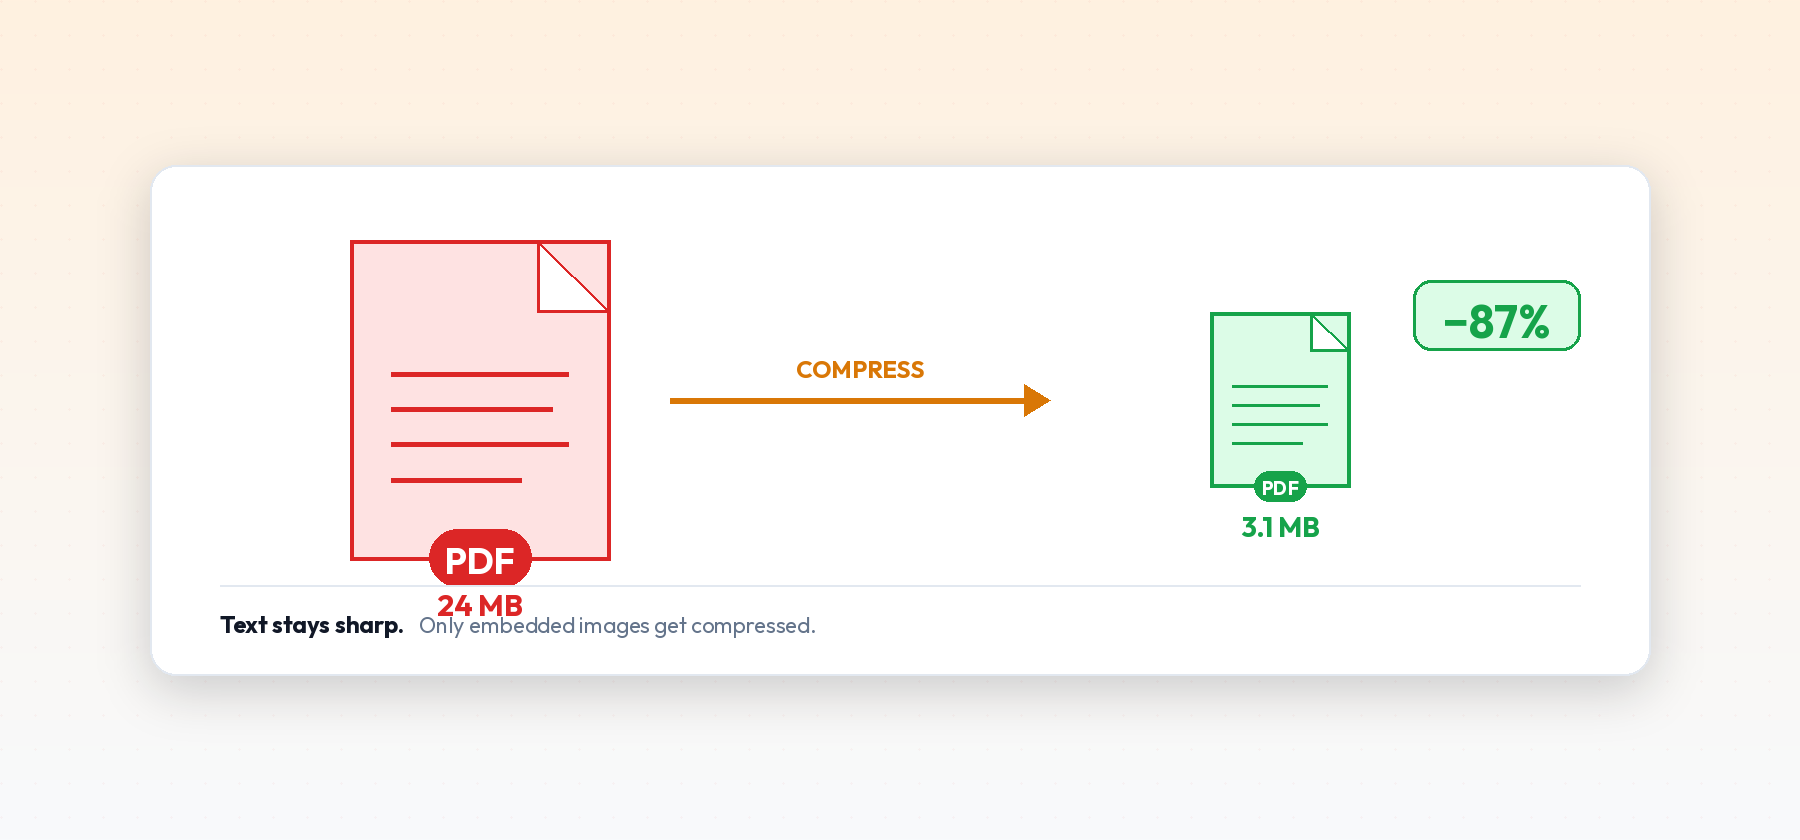
Large PDF files are one of the most common headaches for anyone sending documents by email, uploading to a job application, or submitting a form with a strict file size limit. The good news: you can almost always shrink a PDF by 50-90% without any visible drop in quality, as long as you know what's actually taking up the space.
Why PDFs Get So Large
Most of a PDF's file size comes from embedded images, not text. A PDF full of scanned pages or high-resolution photos can easily balloon past 20 MB, while a text-only PDF with the same number of pages might be under 200 KB. Fonts, embedded color profiles, and unused metadata add a smaller amount on top of that.
This means the fastest way to shrink a PDF is almost always image compression — reducing the resolution and file format efficiency of the images inside it, not touching the text at all.
How PDF Image Compression Actually Works
A PDF doesn't store images as one universal format internally — it can embed them as raw bitmap data, JPEG-compressed data, or a handful of other encodings, and a lot of the size difference between a bloated PDF and a lean one comes down to which of these was used and how aggressively.
- Downsampling reduces the actual pixel dimensions of an embedded image. A photo scanned at 600 DPI is massive overkill for a page that will only ever be viewed on a screen at a fraction of that resolution — downsampling to something like 150-200 DPI for screen viewing (or 300 DPI if the document will be printed) can cut image size dramatically with no visible difference at normal viewing distance.
- Re-encoding as JPEG takes images that were embedded as uncompressed or losslessly-compressed bitmap data and re-encodes them using JPEG's lossy compression, which is dramatically more space-efficient for photographic content specifically. This is where most of the size reduction on scanned documents comes from.
- Stripping embedded color profiles removes ICC color profile data that's meant to ensure color-accurate printing, which most people never need for a document that's just going to be read on a screen or printed on a standard office printer.
What "Losing Quality" Actually Means
There are two different things people worry about when compressing a PDF:
- Text becoming blurry or hard to read — this basically never happens from compression, because text in a PDF is usually vector data or embedded font outlines, not a picture. Compression settings target images, not text.
- Images looking noticeably worse — this can happen if you compress too aggressively. A photo that gets crushed down to a very low quality setting will show visible blocky artifacts, especially in areas with fine detail or gradients, like skin tones, skies, or subtle shading in a diagram.
The trick is compressing images enough to cut file size dramatically, while staying below the point where the human eye notices a difference on screen or in print.
Fonts and Metadata: The Smaller Wins
Images are the biggest lever, but not the only one. Fonts embedded in a PDF — especially full font files rather than just the subset of characters actually used in the document — can add a meaningful amount of size, particularly in documents with several different typefaces. Font subsetting, which keeps only the specific characters the document actually uses instead of the entire font file, is a safe, invisible way to shave off extra size.
Metadata is the smallest contributor but still worth a mention: revision history, embedded thumbnails, unused annotations, and editing application data can accumulate in a PDF that's been through several rounds of edits in different tools, none of which affects what a reader ever sees.
A Practical Approach
- Start with a moderate compression level first. Going straight to "maximum compression" is how people end up with visibly degraded PDFs. A moderate setting usually captures most of the size reduction anyway, since the jump from "no compression" to "some compression" is where the biggest savings happen — the difference between moderate and maximum is usually a much smaller additional gain for a much bigger quality risk.
- Check if your PDF is a scanned document or a native PDF. Scanned documents (each page is really just a photo of a page) compress differently than PDFs exported from Word or a design tool. Scanned PDFs benefit more from resolution reduction; native PDFs benefit more from image re-encoding.
- Compare before and after at 100% zoom, not the default fit-to-screen view. Artifacts are much easier to spot at full resolution — a fit-to-screen preview can hide compression damage that becomes obvious the moment someone zooms in to read fine print.
- Keep the original file. Compression is generally one-directional — once you've thrown away image detail, you can't get it back. Always keep an uncompressed copy before you send out the compressed version.
Choosing the Right Compression Level for Your Use Case
Not every PDF has the same tolerance for compression, and matching the level to where the file is actually going matters:
- Email attachments and web uploads almost always favor smaller file size, since most viewing happens on a screen where moderate compression is invisible, and many upload forms enforce hard size limits anyway.
- Documents headed for print — especially anything with photos, diagrams, or fine gradients — deserve more conservative compression. Screens display images at a lower effective resolution than most printers can resolve, so print output shows compression artifacts more readily than the same file ever would on screen.
- Legal documents, contracts, and text-heavy forms are usually safe to compress heavily since they're almost entirely vector text — the compression settings that target images won't touch them much at all, so there's little quality trade-off to weigh in the first place.
- Archival copies you're storing long-term rather than sending anywhere are worth keeping at a lower compression level (or uncompressed), even if you also generate a smaller version for day-to-day sharing.
When You Shouldn't Compress Too Aggressively
If a PDF is going to be printed, especially anything with photos or diagrams, be more conservative with compression than you would for something that's only ever viewed on a screen. Screens display images at a lower effective resolution than most printers can resolve, so print output shows compression artifacts more readily.
Legal documents, contracts, and anything with fine-print tables are usually safe to compress heavily since they're almost entirely text — the compression settings won't touch them much at all.
Batch Compression for Multiple Files
If you're regularly dealing with more than one large PDF — a folder of scanned invoices, a batch of reports before an upload deadline — checking each one individually at 100% zoom isn't practical. In that situation, it's reasonable to pick one representative file, find a compression level that holds up well on it, and apply that same setting across the rest of the batch, spot-checking a couple of the results afterward rather than every single page of every file. Documents that are visually similar (same scanner, same source template) tend to compress predictably once you've found a setting that works for one of them.
Try It Yourself
You can test this directly with the PDF Compressor — it runs entirely in your browser, so your file never leaves your device, and you can immediately compare the size reduction against the original before deciding whether to send the compressed version.